Viking hood based on the hood found near harbor of Skjold (Skjoldehamn) on the present day Norwegian island of Andøya. The Clothing has variously been dated 1000-1210 CE, 995 to 1029 CE, and1050 to 1090 CE. In total the find included along with the skeleton, an under tunic, over tunic, pants, hood, hose, leg wrappings, shoes, braided belt and knife handle. It appears they were wrapped in a checked fabric blanket, and laid upon a reindeer skin.
I decided to make a hood as first prize for the Populace Choice Competition. A hood can span many time zones and cultures and would therefore be something most people could fit into their wardrobe. In fact when the skeleton was first found the archeologists believed it to be from the 15th or 16th century due to the construction of the hood. I had always been fascinated by the Viking Square hood. Such a simple, elegant pattern that is so useful fits so well. Since it would be a prize for someone from the Far West I decided to combine Eastern and Western imagery in the embroidery. A long time friend also finally received his AoA and I decided to make him a hood in celebration.

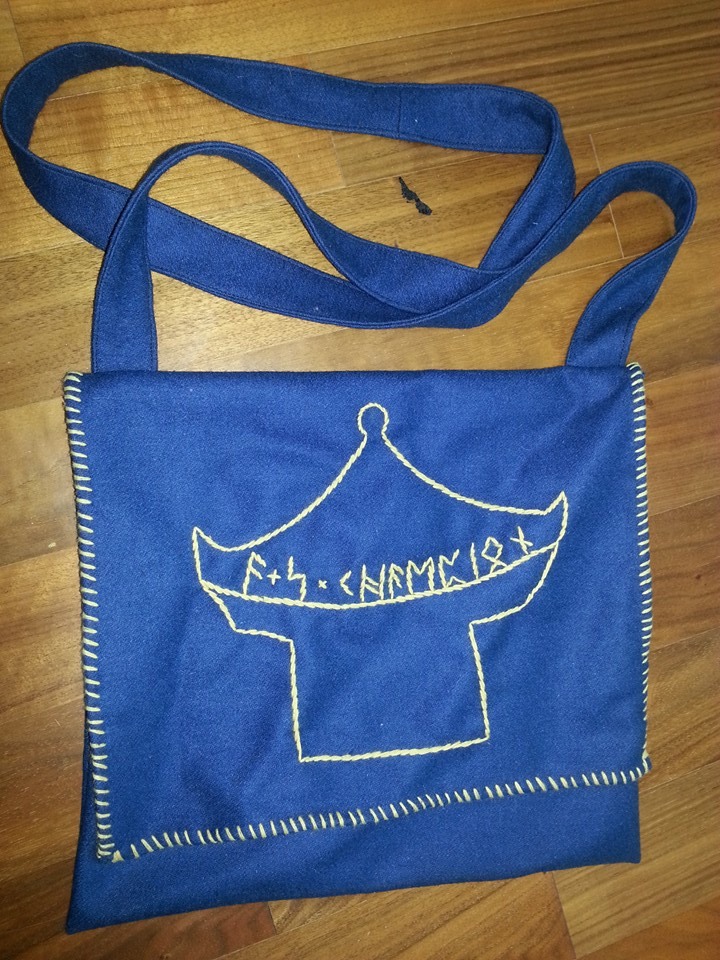
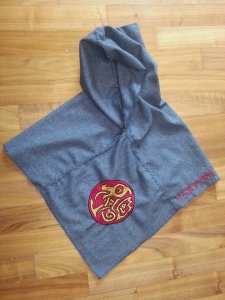
Viking Hood for Populace Choice before I sewed it together (yup, I am useless with photo and never got one of the finished product.)
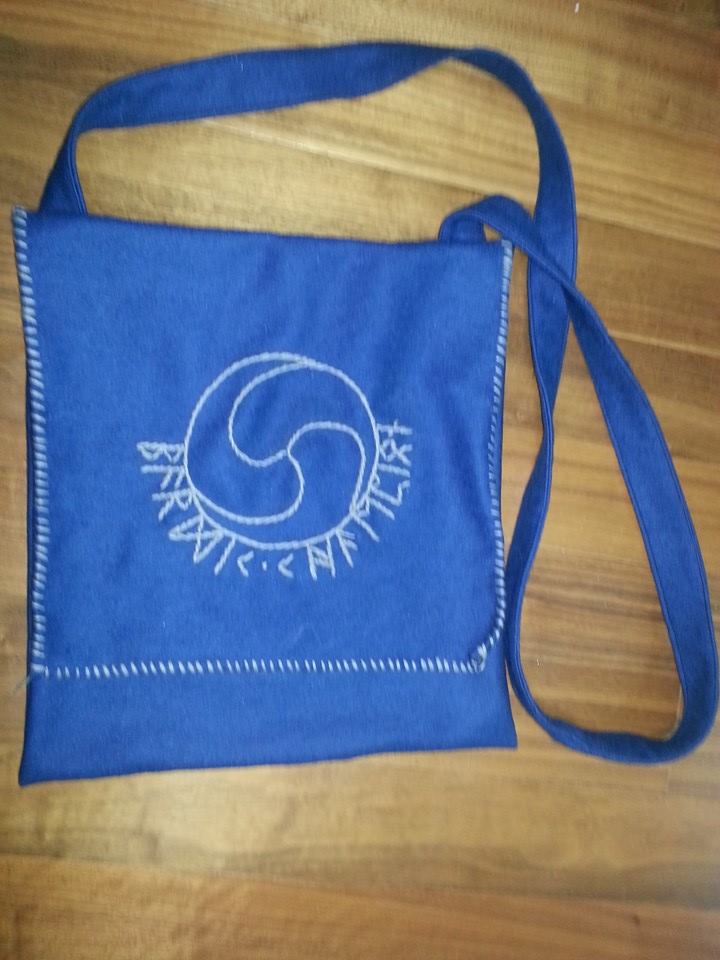
The Hood I made for my friend for getting his AoA
Materials: Wool cloths and silk embroidery thread.
The original hood was made of a 2/2 twirl woolen cloth believed to be dark brown. My hood was made of gray wool.
The general construction and “decoration” for the original hood was done with wool thread. Several different types of thread was used including thread that might have been from the hood’s warp, a gray-brown thread, a dark brown thread and red and yellow thread in thicker wool.
Both the general construction and decorations for my hood was done with silk tread. For the general construction of my hood I used gray silk tread. For the edge and seam reinforcement I used black silk tread and for the embroidery I used black, orange, red and yellow silk thread. The yellow and red was chosen both due to actually being used with the original hood and due to it being the Baronial colors.
There are examples from the same time period and general area using both silk cloth and silk thread.
Construction: Hood was cut according to measurements from the original hood. The construction of the hood is different than we would usually do it today. The fold of the large rectangle is actually cut open for the face opening and the front gore. The hood around the back of the head is then seamed closed. I used this construction method.
In the original the top seam is bigger in the front than in the back. This allows the hood to sit further forward around the face. All seams are hand sewn using whip (or overcast) stitch. At the top of the hood the edge of the fabric is encased with 4 seams to look something like a cock’s comb. I opted to just use one seam due to the seam reinforcements that I was using.
The opening around the face and the bottom hem was finished using whip (or overcast) stitch. In the original the whip stitch is used as reinforcement and there is no evidence of a rolled hem. I opted to use blanket stitch, a stitch also commonly found during this time period.
I opted to leave off the braided cord that is believed to have been either knotted under the chin or behind the head. The lack of puckering and pulling on the fabric in the original more than likely indicates that the cord was not often used. I did this mostly since we do not tend to venture out in the same severe weather conditions as the original owner would have.
Seam Reinforcement: Wool is a very forgiving fabric and much resistant to fraying. Generally when any type of stitching is used on the seam allowance of wool garment the wool will most likely only fray to the edge of the sewing. This is clear from the hood that still has very nice and crisp edges despite only being reinforced along the edges with whip stitches.
For the edges of my hood I choose to use blanket stitch. Blanket stitch and whip stitch was the two most commonly used edging stitches in this time period often used on the same garment.
To reinforce the seams I used a variant of herringbone stitch also called a raised fish scale stitch. This particular variant was found on a wool cushion in the tenth-century Mammen grave. (Hald, 282). The advantage of this stitch is that it reinforces the seam while still giving a fair amount of stretch. The stitch produces a row of stitching on the inside and if the seam allowance were to fray it would not fray past that point. As you can see the original pillow was made of a very loose weave and the chances of fraying was even greater.
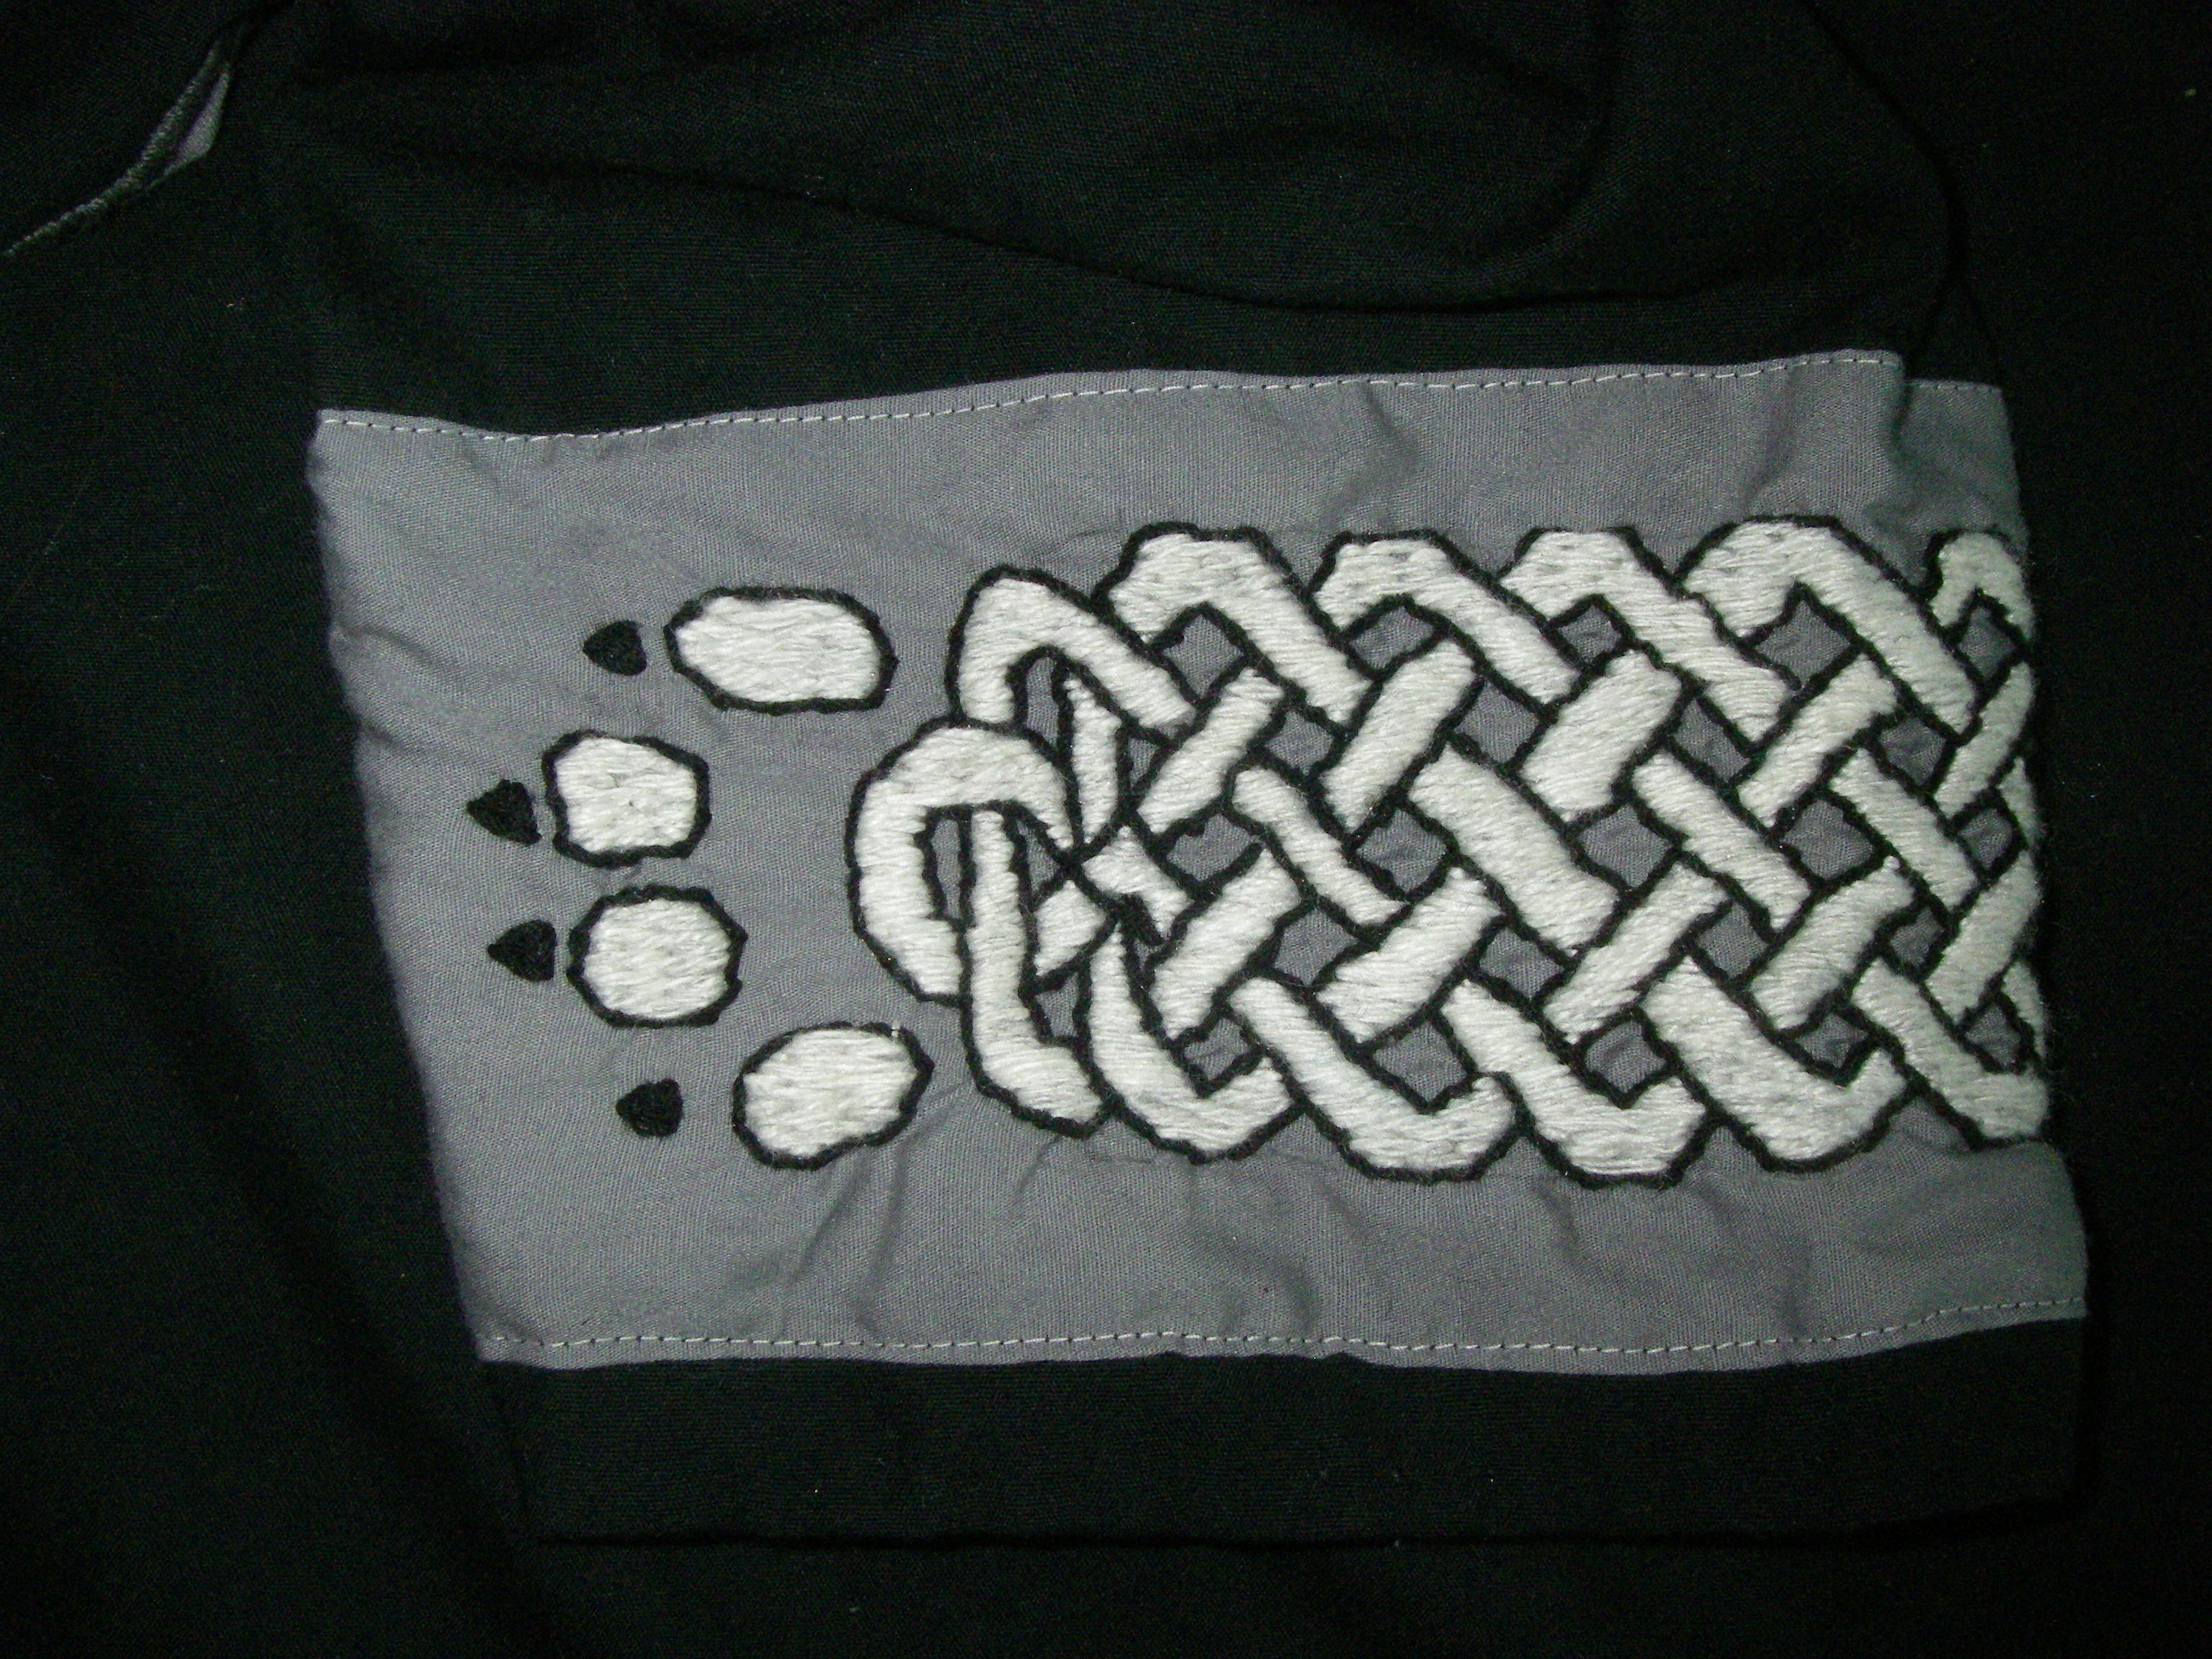
Embroidery: While the original hood did not have any embroidery (just some decorative stitches around the edges) there are examples of Viking clothing of the same time and general area with embroidery. The few examples of Viking embroidery that have been found cover a surprising array of different images and influences.
I chose to do Chinese/Korean style embroidery on the Populace Choice Hood due to the fact that I wanted this as a reminder of the person’s time spend here in Korea. I chose to do fish due to the Device for the Palatine Barony of the Far West. Fish in Chinese embroidery generally is shown from above and generally is shown in pairs.
There is actually a very tentative and speculative link to eastern images in Viking embroidery. None of the embroidery found to date feature the strap work and interlaced styles found in wood and metal work. Instead there are several examples of Acanthus leaves and also examples that are reminiscent of silk textiles found in the near east and Byzantium. The images fit into a circular pattern and include paired animals. While I would not claim that a similar image than I used might have been found, I would like to believe that at least it shares design roots.
For the AoA Hood I used an Viking interpretation of his device. It also happens to be a stylized animal and there are examples of stylized animals in many forms of Viking Decorations and also in embroidery.
The Embroidery was done using Stem (or Outline) stitch for the outline and a combination of Satin Stitch and Long-Short stitch for the infill.
Lessons Learned:
- While the first hood was specifically made using the dimensions of the original hood, it turned out to be very small. For the second hood I opted to use different dimensions to make it fit better.
Serious Viking Re-enactors:
While I would happily wear these hoods to any SCA event (and even entered them in competition) I am well aware that I made some mighty leaps form existing proof. There are no proof of embroidery on any extant hoods of hats of any kind. The only examples of embroidery found so far has the embroidery done on separate pieces of fabric that was then sewed to the ground fabric. There are no examples of runic writing on garments.
If you want to see photos of the original hood and find out more about it this is a great place to start:
Lucas, Rebecca. “A Tunic and Hood from Skjold Harbour.” Medieval Baltic.US. Dec 2009. Online. 10 Apr 2014. <http://www.medieval-baltic.us/skjold.html>